 SynthMaker
Your first face, in SwiftUI
A module of your own can have a face: its own knobs, words and buttons. You build it from SwiftUI's views, with Apple's names, parameters and meaning, so what you learn here is what you'd write in Xcode.
New words
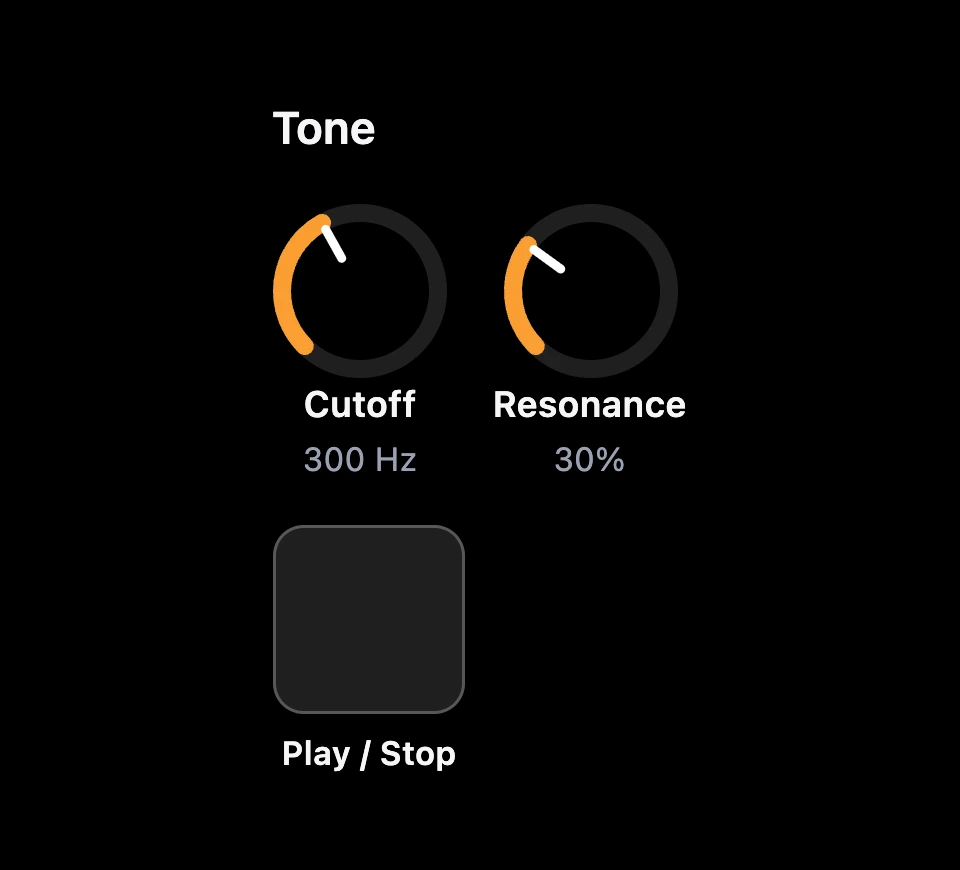
A face is the front panel of a module of your own: the knobs, buttons, pads and words someone plays, with the wiring hidden behind it, like the front of a hardware synth.
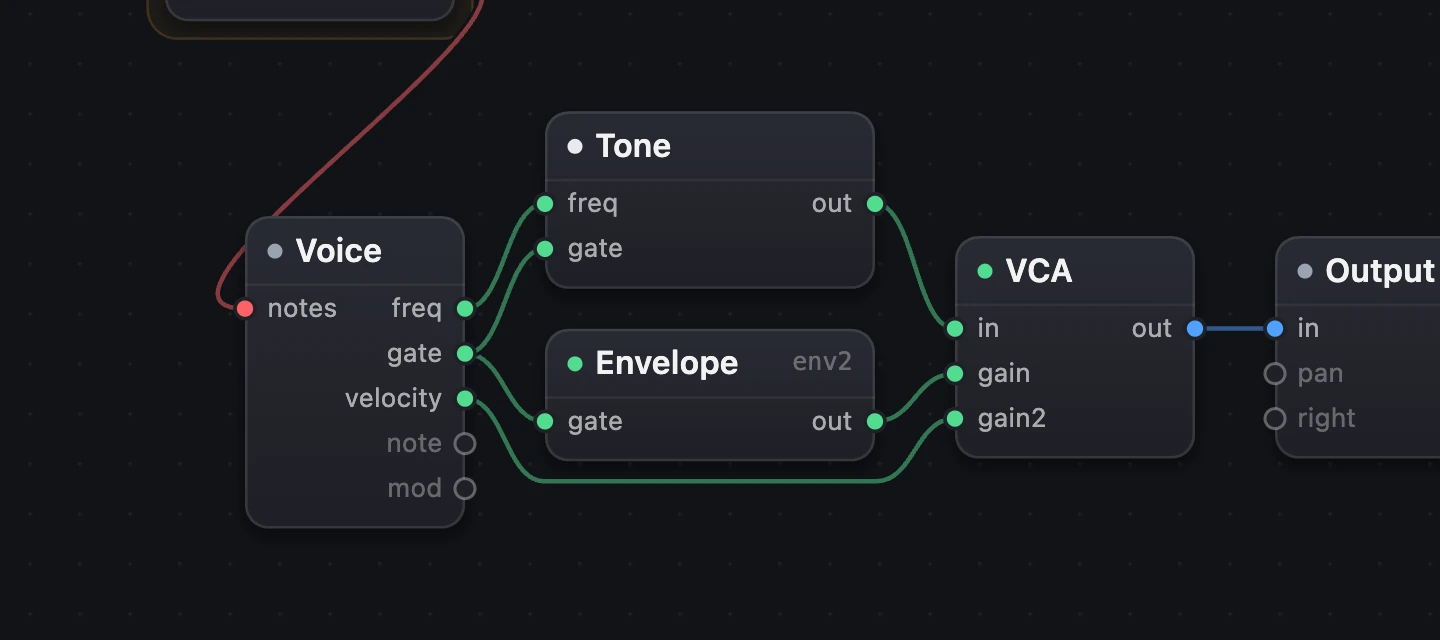
A module of your own is several modules put into one box (Make Module). It works the same, and you can open it to see and change what's inside.
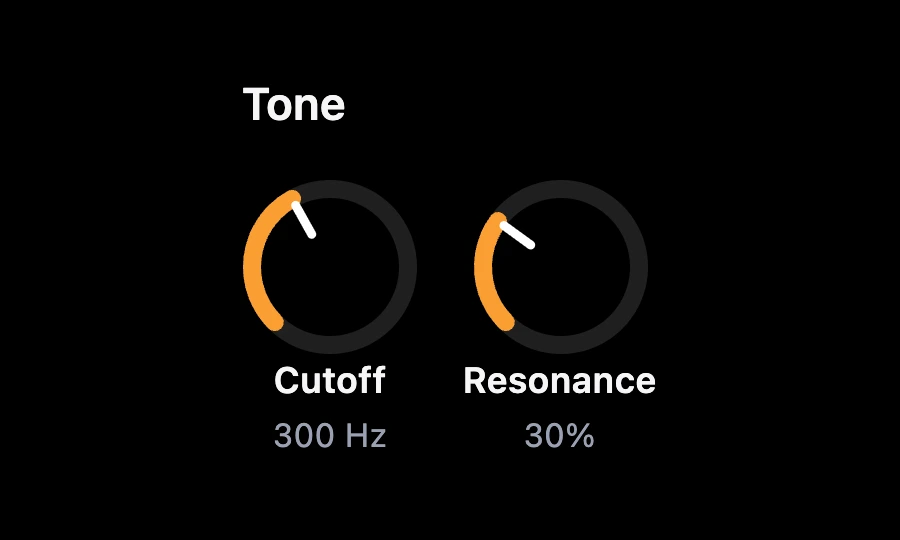
A view is one piece of a face, named as in Apple's SwiftUI: a VStack (a column), an HStack (a row), a Text, a Knob, a Button.

1One face, six lines
This is the whole face, and the SwiftUI the app writes for it. Each number on the picture is a line of the code. Point at a line, or at a number below, to see which is which.
VStackstacks its views top to bottom.alignment: .leadinglines them up on the left;spacing: 10leaves 10 points between them.Text("Tone")shows words..font(.headline)is a modifier: it changes the view written just before it.HStackis a row: its views sit side by side, 14 points apart.Knob("Cutoff", value: filter1.cutoff)turns the Filter's cutoff, inside Tone.- A second Knob: the Filter's resonance.
Button("Play / Stop") { play() }: a tap runs its action, which sends a message from Tone's outputplay.
VStack(alignment: .leading, spacing: 10) { Text("Tone") .font(.headline) HStack(spacing: 14) { Knob("Cutoff", value: filter1.cutoff) Knob("Resonance", value: filter1.resonance) } Button("Play / Stop") { play() }}2Make the module
Start from a sound with two detuned oscillators into a filter that has its own envelope. Those four make the tone, so they become one module.
- In the Patch, ⇧-click the two Oscillators, the Filter and the Envelope that sweeps it.
- Right-click one of them (or touch and hold) and choose Make a custom module from these 4…
- Call it Tone and choose Make module.
The sound doesn't change. The wires that crossed in and out of the four are now Tone's ports, and Tone already has a face: a VStack holding its name as a Text.

- Tone: four modules, one card.
- Inputs:
freq,gate. - Output:
out, the audio.
3A row of two knobs
- On Tone's card, choose Edit face.
- Choose Add a row. It's an
HStack, added at the end of theVStack. - From Add a knob for…, pick the Filter's Cutoff, then its Resonance. New views go into the row, the stack added last.
A Knob starts where its setting is now, so adding it never changes the sound. Turn it and the setting inside Tone turns with it.
VStack with its name.- The
HStack. filter1.cutofffilter1.resonance
4A button that starts the song
The finished face has one more line, Button("Play / Stop") { play() }: Apple's Button(_:action:), with its action in braces. A face's button doesn't run code of its own. Its action calls its Pad, play, a module inside Tone, so where the press goes is a wire you can see.
On the web this button comes with the example; on the Mac, Add view › Button adds one.
Inside Tone, the Pad is wired into a Transport: a tap starts the song, the next one stops it, and you hear the knobs on the song's riff as you turn them. The Transport's running is wired back into the Pad's light, isLit, so the button is lit while the song plays.
A button's words stay as written, so this one says both: Play / Stop. The light is what shows the state.

- The Button's Pad,
play. - The Transport: a tap starts or stops the song.
- Its
running, back into the Pad's light.
Try it
- Open My First Face, press Play / Stop, and turn Cutoff up while the riff plays. Then turn Resonance up for the squelch.
- On Tone's card choose Edit face, type Turn me and choose Add text. It goes at the end of the
VStack, under Play. - Open Tone (Open on its card): its cards end with Tone's face in SwiftUI, with your new
Text("Turn me")as the last line inside theVStack.
Remember
- A face is made of views, named and written as in SwiftUI:
VStack,HStack,Text,Button, plus SynthMaker'sKnob. - Modifiers such as
.font(.headline)change the view just before them, in the order written. - A Knob is bound to a setting inside the module; a Button's action is a Pad, an output you wire in the Patch.
- The face's lines are Apple's SwiftUI: see the same names as Apple's.